Life of a Print, Workshop to Wall
Andrew Miller is a photographer who captures unique images around Chicago (one even ended up covered by the Huffington Post!) Cushing asked him to share some observations from a printing course he took last year. Miller discusses fine art paper, color profiles and his passion below.
Last fall I attended a Pro Printing Workshop with master printmaker Walker Blackwell at Latitude. This wide-format printing workshop was offered as part of Chicago’s annual 5-day Filter Photo Festival. As a professional photographer seeking to learn more about small and large format printing, I jumped at the chance to sign-up.
After being placed on a waiting list I received an email regarding a cancellation just a week before the event (whew!).
Fast forward and the Cushing marketing team asked me to recap some general thoughts and lessons.
Longitude or Latitude
Latitude is a printing lab located in West Town that provides membership rates in exchange for open access printing. Approximately a dozen participated and the agenda covered an array of topics:
Advanced Color Management
Monitor Calibration
Up-sampling an image file
Fine art paper for images
Hands-On Approach
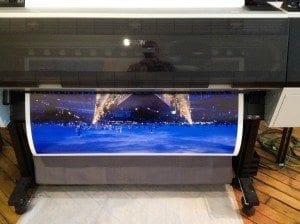
Students were encouraged to bring a ready-to-print TIFF or PDS (photoshop?) file to render a wide-format print (and take it home same day.) Options were the Epson 9880 (44’) and 11880 (64’) printers.
The goal was to match the colors of the image displayed on the monitors with the colors produced by the printers. We were only able to touch the surface of color management and color profiles. Why? Complexities involved in creating custom color profiles would fit an entire workshop (hope they offer this class soon!).
We focused primarily on up-sampling, (also known as upsizing) a file image in Photoshop. Walker Blackwell suggested that it is best to up-sample several times in a series of steps rather than adding pixels all at once. Ultimately you want to be able to achieve the sharpest print possible for enlargements, unless of course, the presence of grain is a desired result.
Fine Art Paper Options
I can’t stress how critically important paper is when contemplating photo printing. Selecting the most appropriate paper depends on the image being printed along with the desired display result. Items to consider include weight, thickness and ultimately how the client may want to use the print (i.e. hang it on a wall or a location where the sun may affect it).
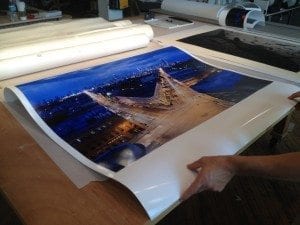
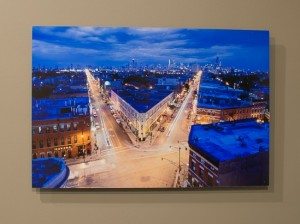
Shown is a 28” x 42” print titled The Blue Hour in Wicker Park, printed during theworkshop on a roll of Harman Gloss Baryta by Hahnemuhle. It’s an amazingly beautiful and thick fine art paper, both smooth and glossy.
Hahnemuhle is one of my favorites in the paper business, perfect for both professionals and printing enthusiasts. Why am I a fan? It just works so well for digital printing and really is museum quality.
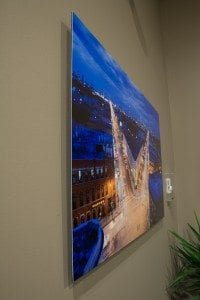
The print was mounted by the Cushing production team on a thin, 3/16” piece of black gator board. French cleats were applied as hanging hardware. This frameless mounting option is a great way to save on the expense of purchasing a frame and gives a nice modern look with the illusion the print is “floating” off the wall.
Main takeaways
- Upsampling should be used rather than adding all pixels at the same time.
- The amazing photo you snapped deserves quality paper – weigh your options
- No matter how much knowledge one has, there is always another class that can help!
Printing wide-format can be complicated experience for someone who is just starting out. There is a lot of time and effort involved and there are many variables to consider. However, if the finished project is as stunning as you had imagined, you know that it was all worth it in the end.


